Adding buttons to the grid
Place, label, resize and color-code buttons on the control panel grid, and use multi-select, duplicate and delete.
TutorialBeginnereditorUpdated
Buttons are the core building blocks of your control panels. Here's how to add and configure them.
Adding a button
- Open Builder from Helmo Control
- Click + Add Button in the toolbar, or drag from the sidebar onto the grid
- A new button appears on the grid
- Drag it to your desired position
- Click the button to open its configuration panel
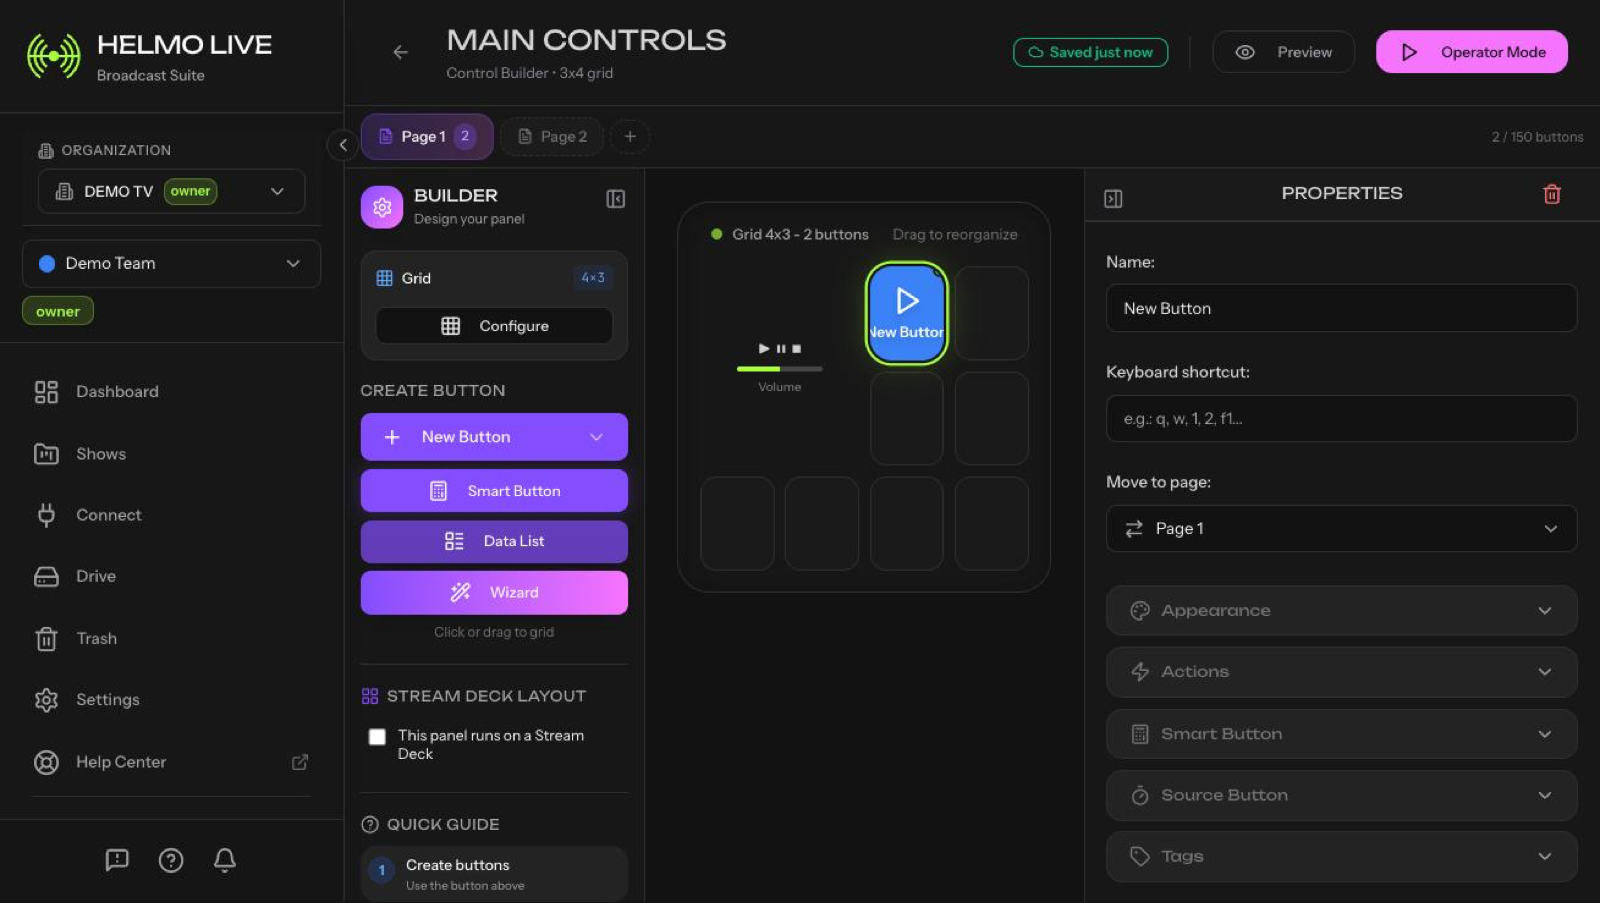
Button configuration
Each button has:
- Label: text displayed on the button face
- Color: background color for quick visual identification
- Icon: optional icon from the built-in icon library
- Action: what happens when pressed (Viz Flowics, OBS, Action Sequence, etc.)
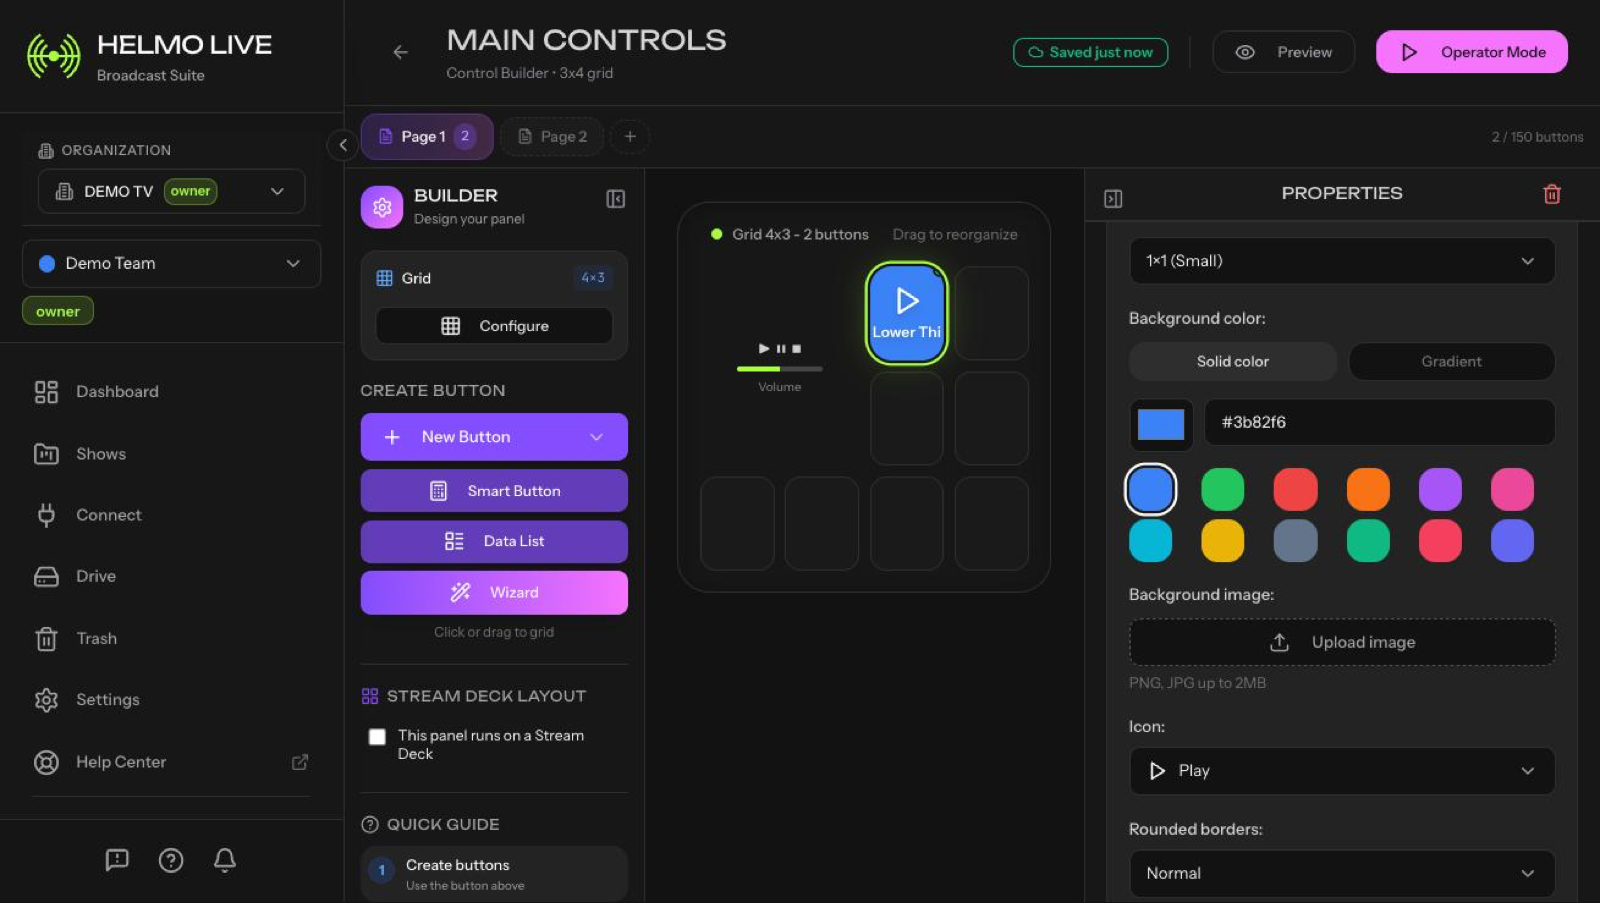
Grid system
Buttons snap to the grid automatically. You can:
- Drag to reposition anywhere on the grid
- Resize by dragging edges or corners to span multiple cells
- Make buttons larger for frequently-used actions
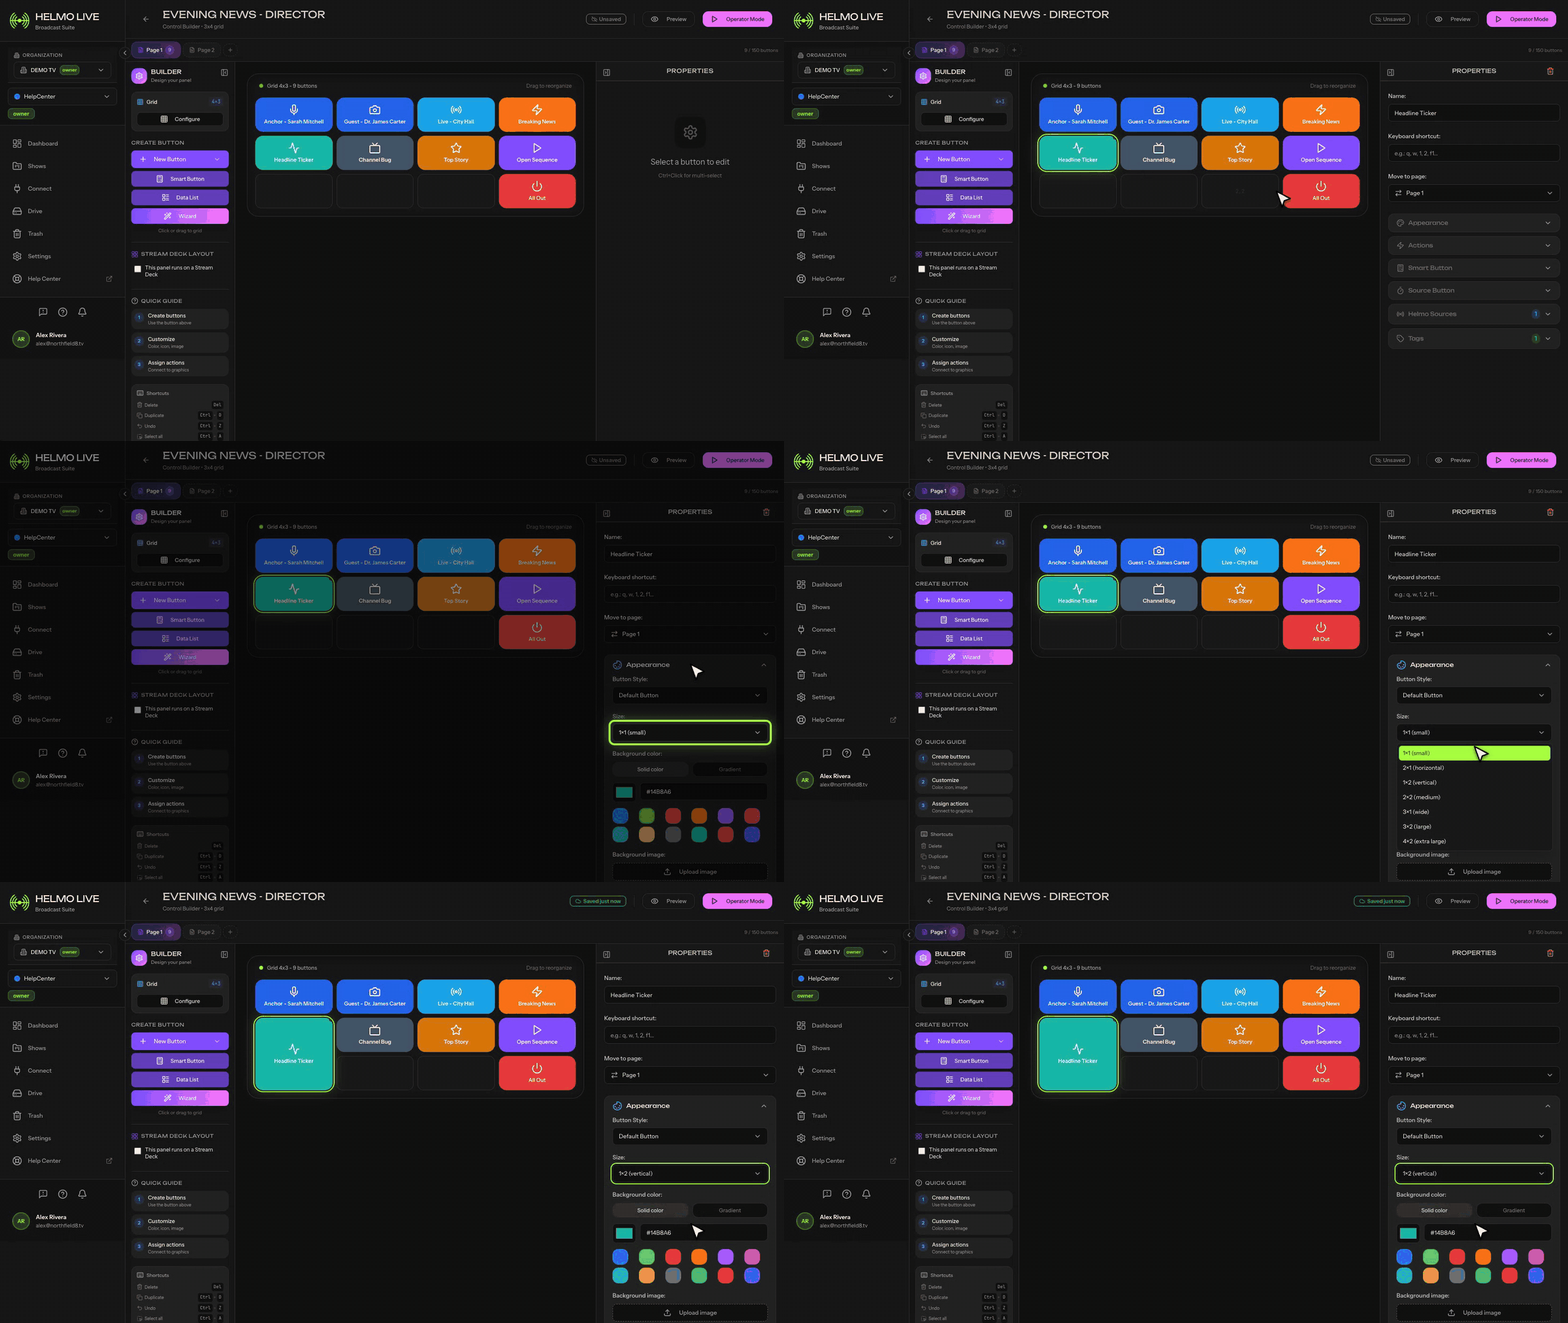
Multi-select
- Ctrl+Click (or Cmd+Click on Mac) to select multiple buttons
- Ctrl+A to select all buttons on the current Panel
- Move selected buttons as a group
Duplicating and deleting
- Right-click a button > Duplicate to create a copy with the same settings
- Select a button and press Delete, or right-click > Delete to remove it
Tip
Use color coding to group buttons by function: green for IN actions, red for OUT, blue for OBS scene switches. Your operator will thank you during a fast-paced broadcast.