Your first control panel: step-by-step
Create a working control panel in minutes, from a blank panel to a live toggle button.
TutorialBeginnereditorUpdated
Create a working control panel in minutes, from a blank panel to a live toggle button.
Prerequisites
- At least one integration configured in Connect (e.g., Viz Flowics, OBS)
- Editor role or higher
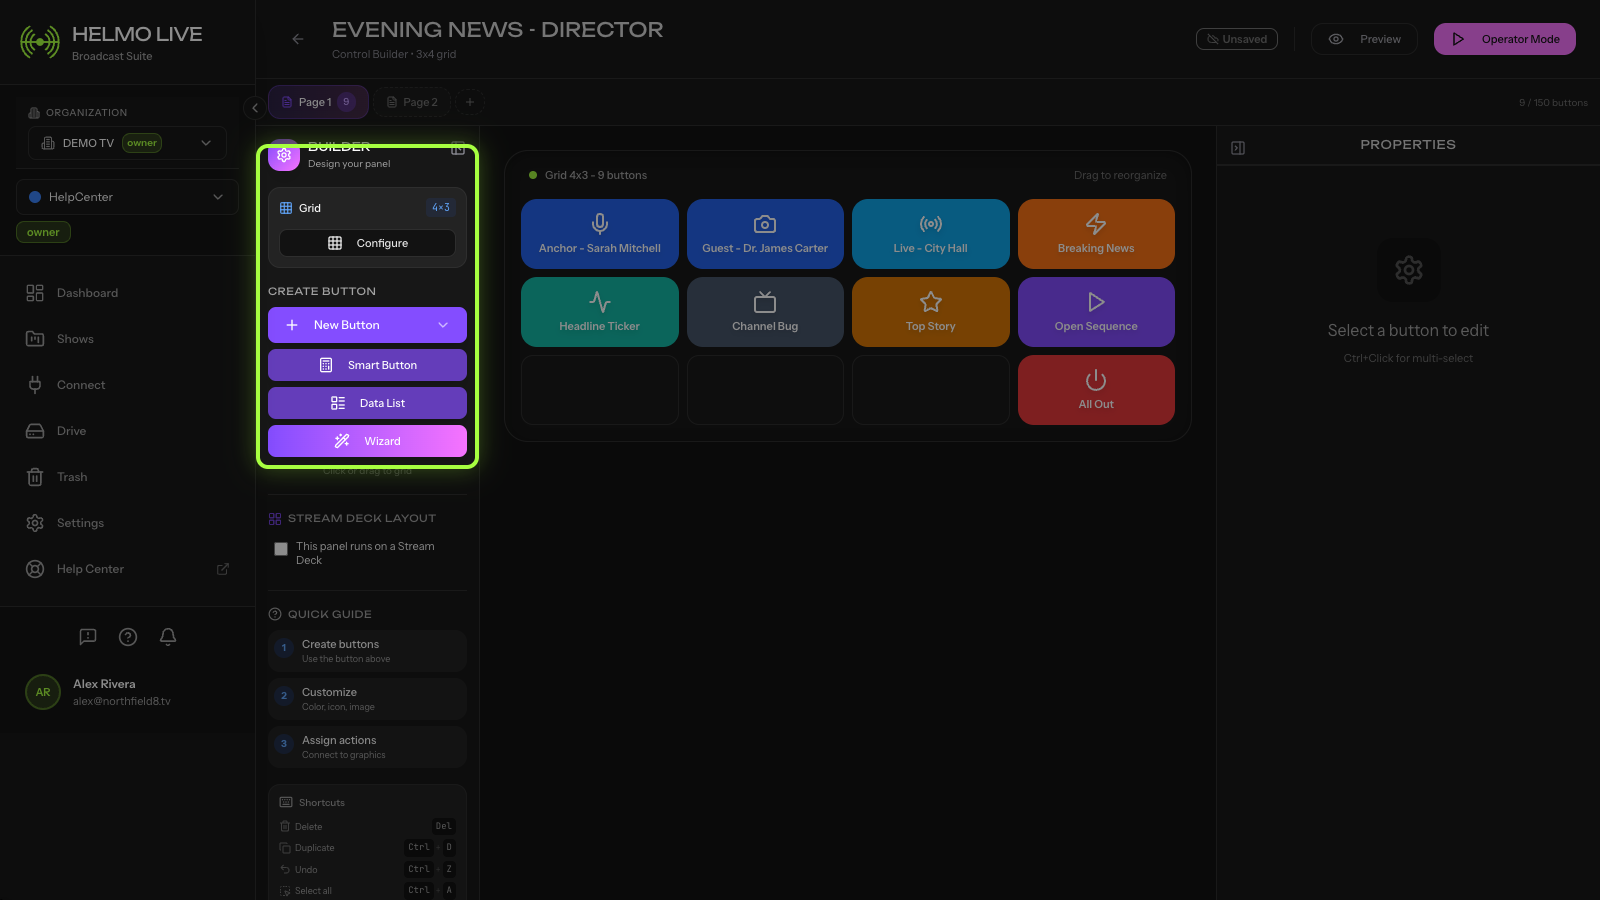
Step 1: Open the Builder
Go to Helmo Control > Builder from the sidebar.
Step 2: Create a Panel
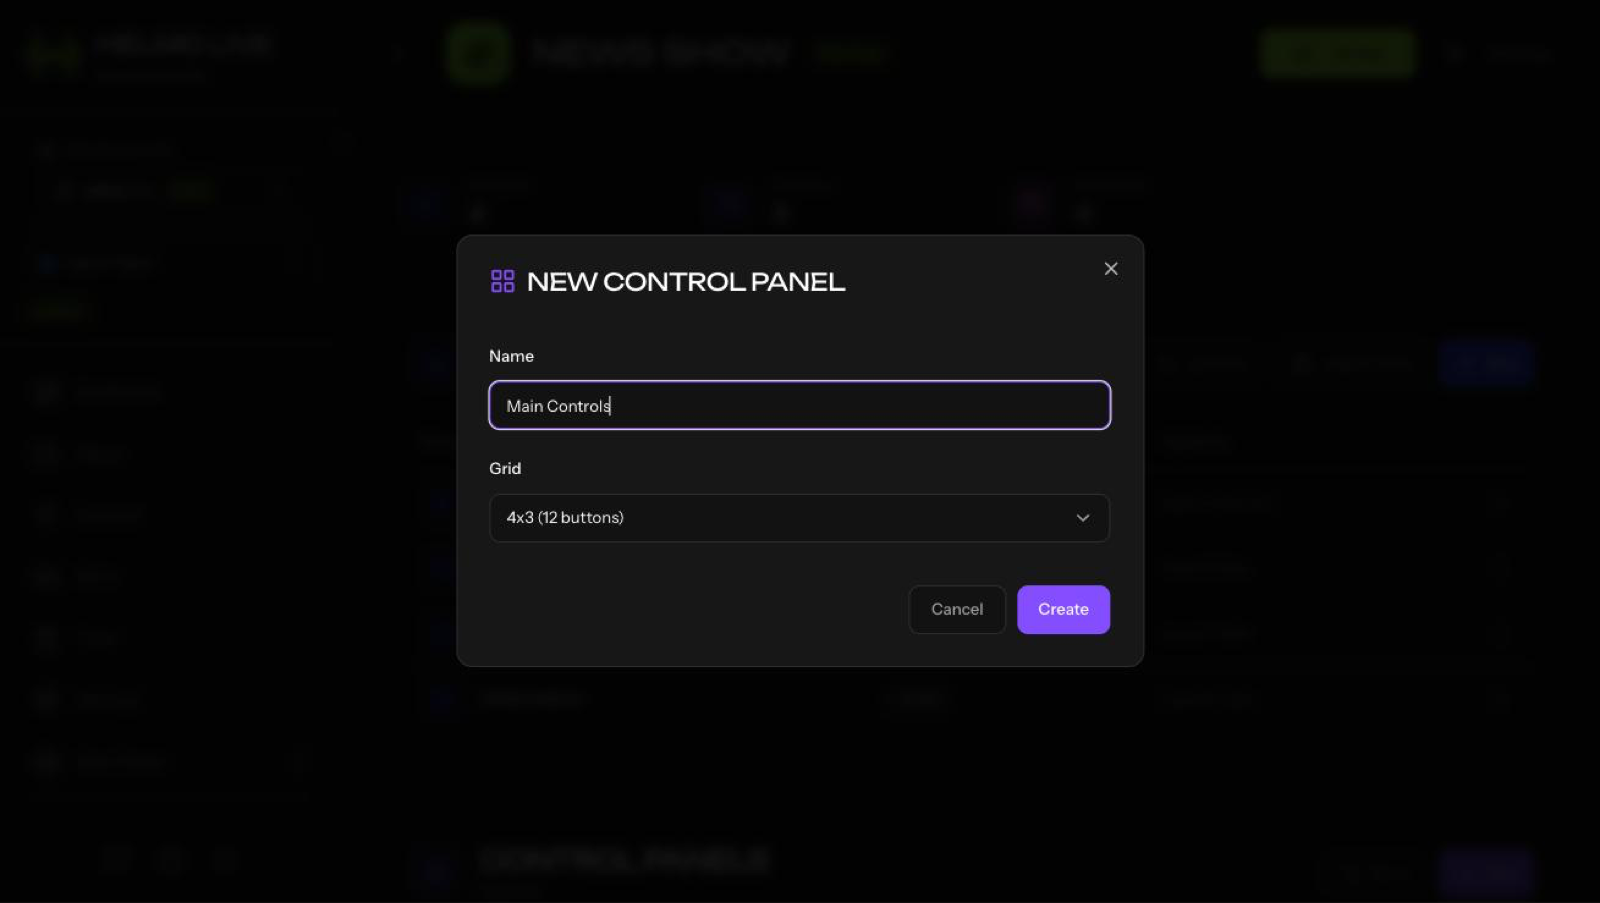
- Click + New Panel
- Name it (e.g., "Main Controls")
Step 3: Add a button
Option A: Manual
- Click + Add Button or drag onto the grid
- Give it a label (e.g., "Lower Third")
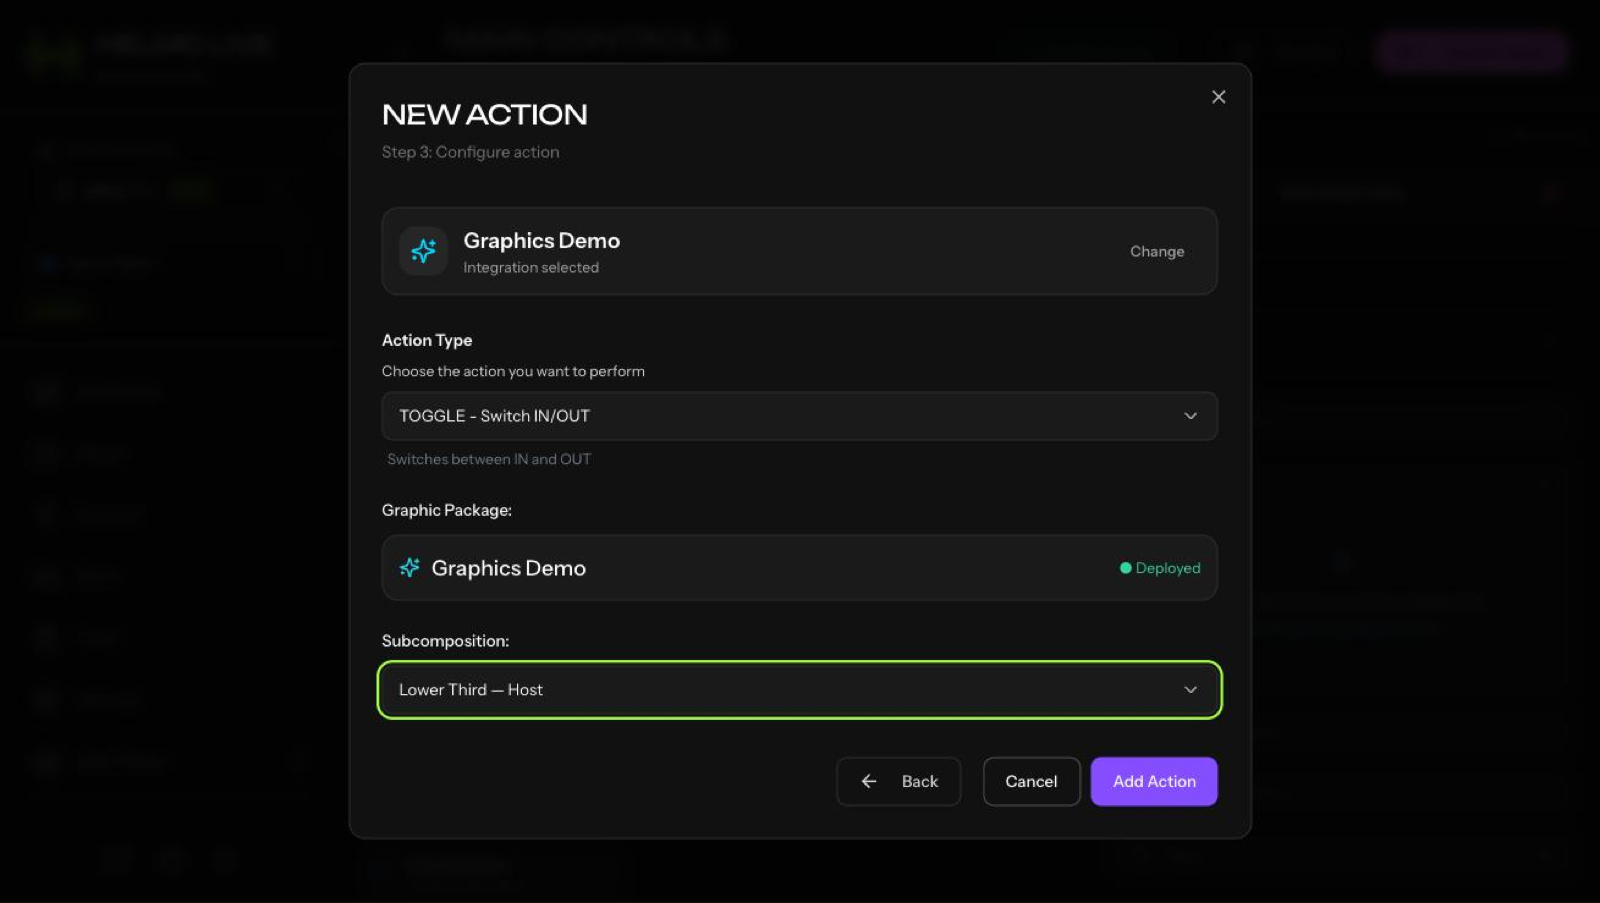
- Set the action type to your integration
- Choose the specific resource to control
- Set the action to TOGGLE
- Pick a color
Option B: Use the Wizard
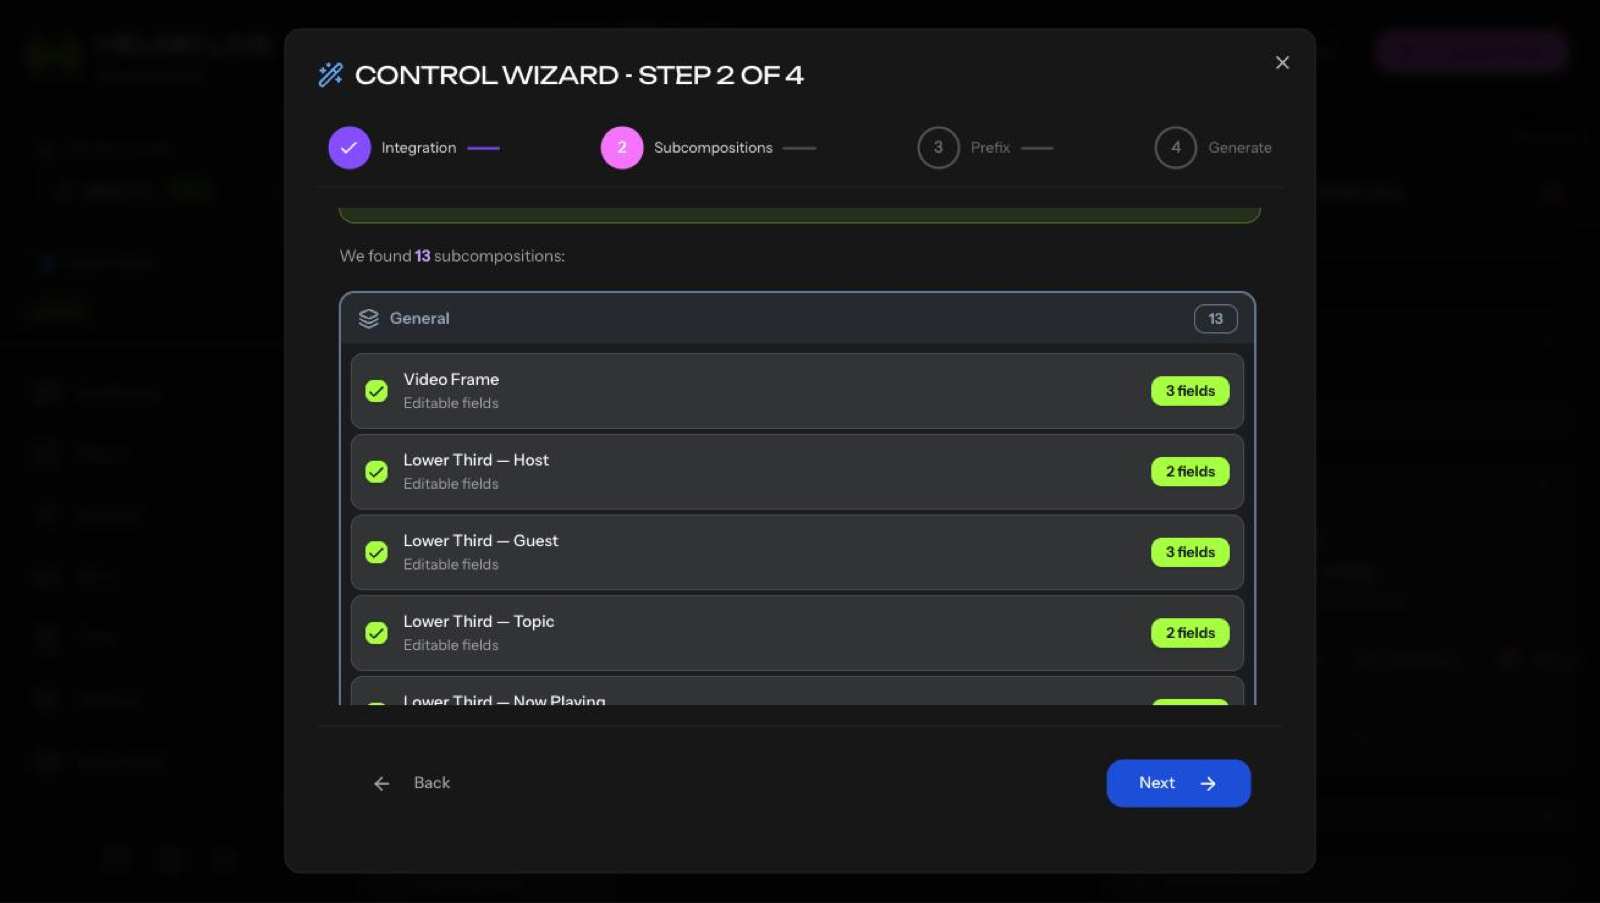
- Click the Wizard button in the toolbar
- Select your integration type
- Choose the resources you want buttons for
- Click Generate. Buttons are auto-created with correct actions
Step 4: Test in Client
- Click Preview (top right) to open Client
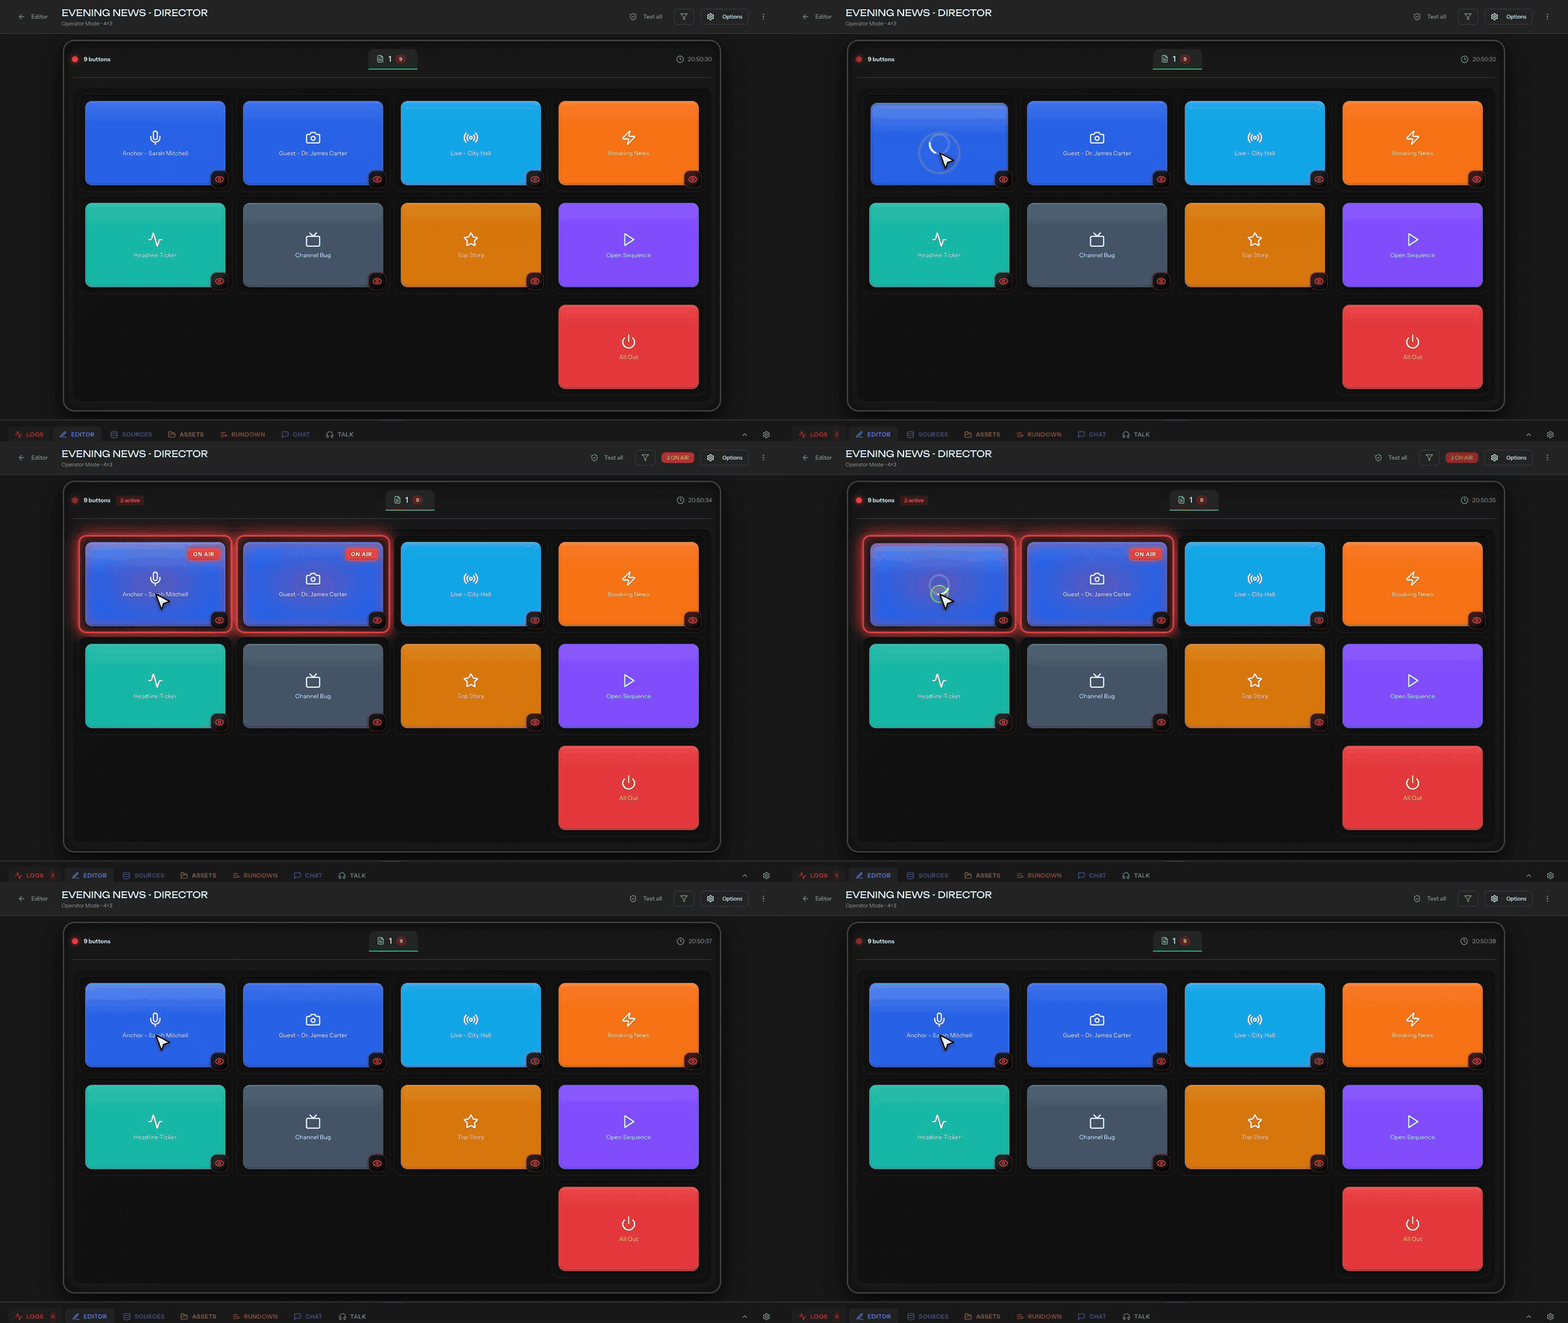
- Press your button. The overlay should animate IN
- Press again. It should animate OUT
- The button glows when the overlay is ON AIR
Tip
The Wizard saves significant setup time. Use it to generate the initial buttons, then customize labels and colors in Builder.