Adding an Image element
Add logos, photos and backgrounds with an Image element, from a URL or from Drive, and control how the image fits.
TutorialBeginnerUpdated
Image elements let you add logos, photos, backgrounds, and other visuals to your graphics.
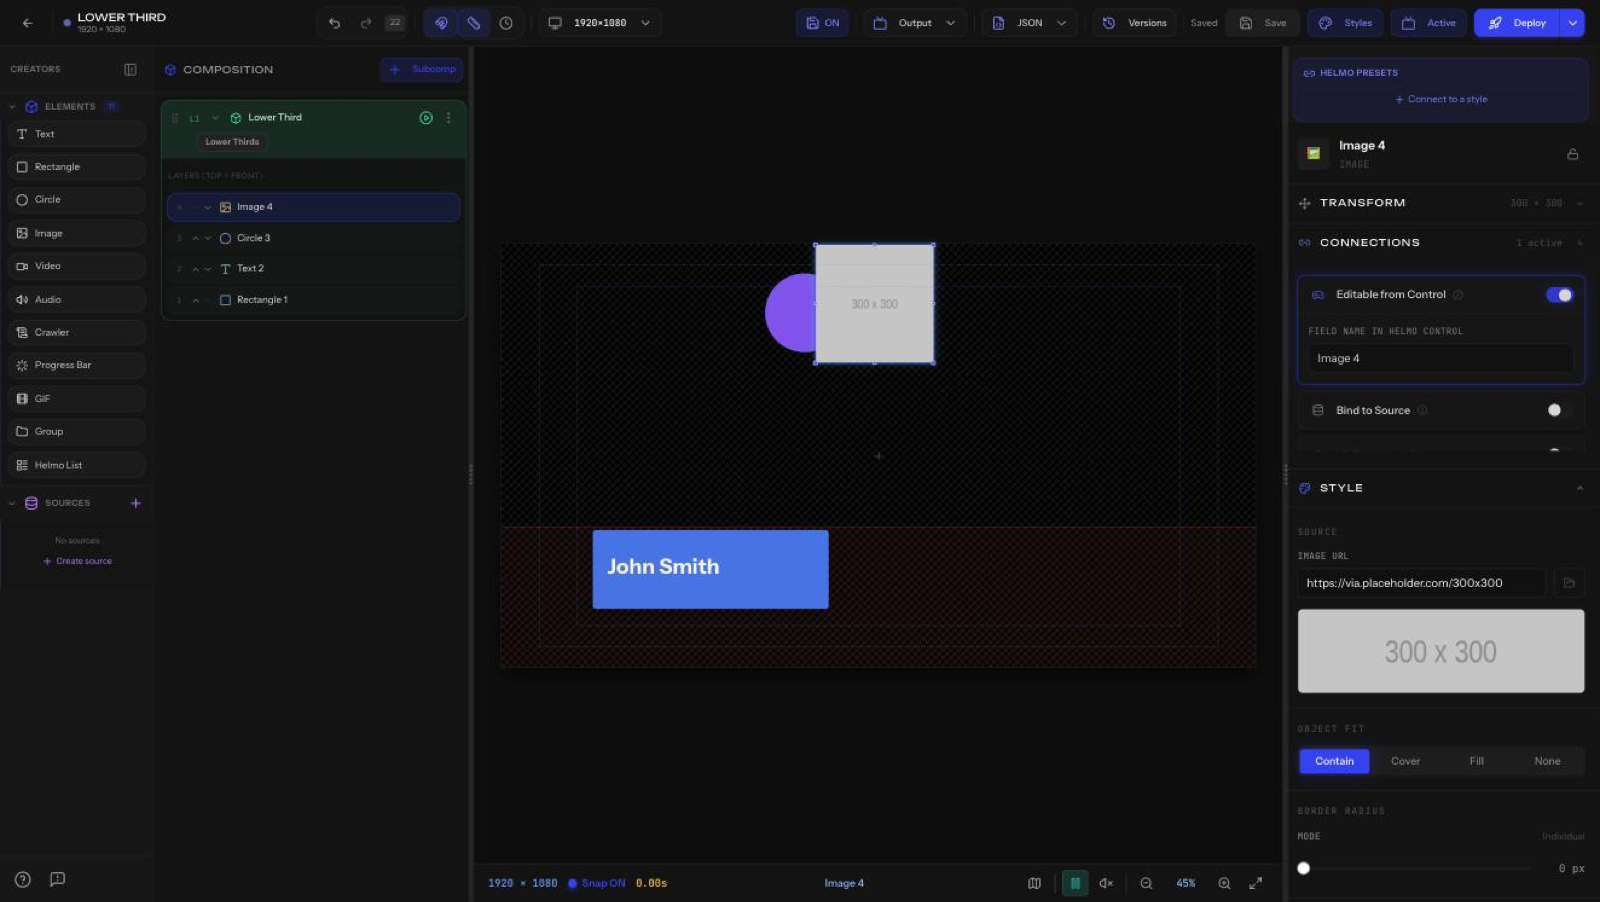
Adding an image
- Drag Image from the Elements panel onto the canvas.
- In the Inspector, under Source, either paste an Image URL or click the file button to pick an asset from Drive.
- Set Object Fit (Contain / Cover / Fill / None) to control how the image fills its box.
Supported formats
JPG, JPEG, PNG, GIF, WebP, SVG
Fit modes
- Cover: image fills the element, may crop edges
- Contain: full image visible, may have empty space
- Fill: stretches to fill exactly
- None: original size, no scaling
Border radius
You can round the corners of image elements, just like rectangles. Set each corner individually for creative shapes.
Clipping masks
Apply an SVG mask to crop the image into a custom shape (circle, hexagon, etc.). See Masks: Clip, Knockout & Fill.
Tips
- Use PNG with transparency for logos.
- Upload images to Drive first for reliable loading.
- SVG images scale perfectly at any size.