Your first graphic: step-by-step tutorial
Build a simple lower third from scratch: create the graphic, add a subcomposition and elements, animate it, deploy it and test it.
TutorialBeginnerUpdated
Let's create a simple lower third graphic from scratch.
Step 1: Create a new graphic
- Go to Graphics in the sidebar.
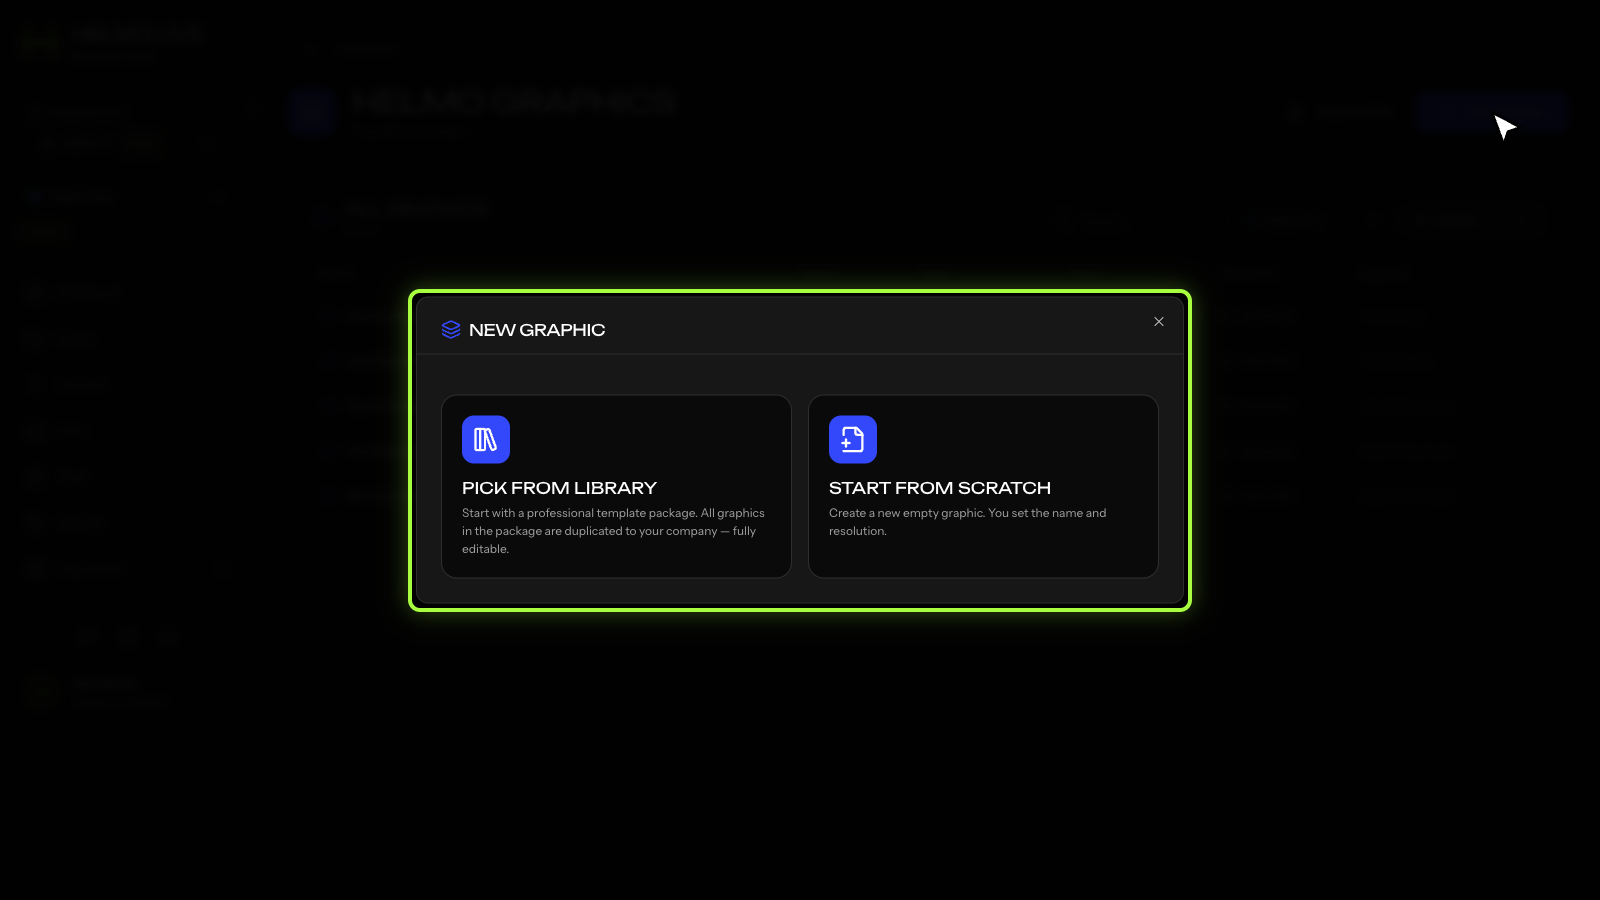
- Click New Graphic.
- Choose Start from Scratch (or Pick from Library to begin from a template package).
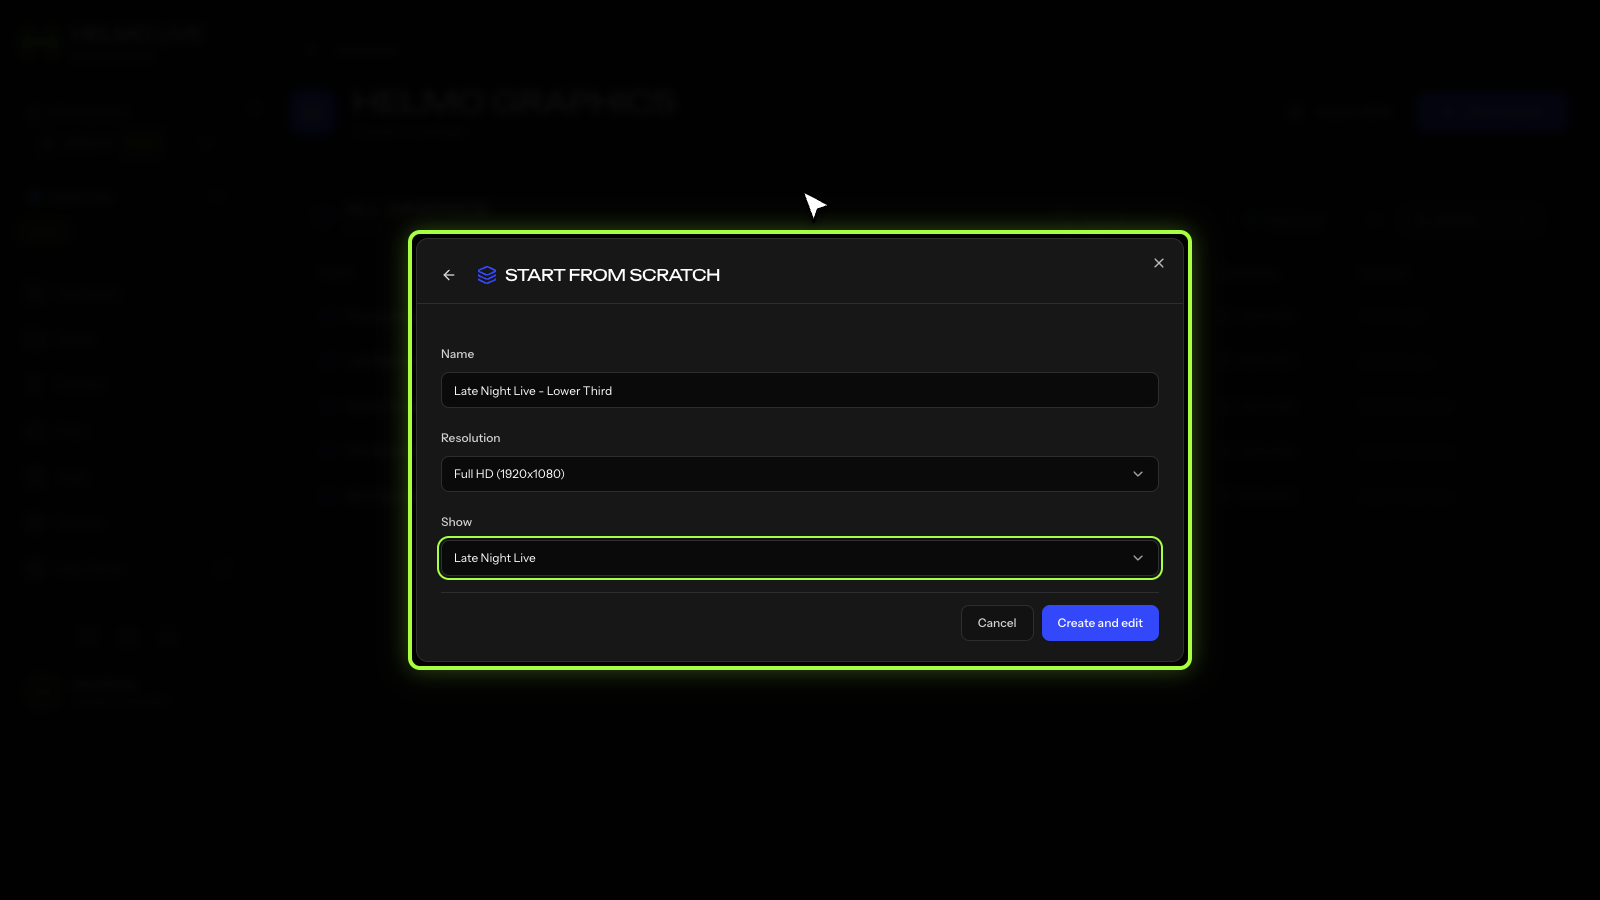
- Name it (for example, "My First Lower Third"), pick a resolution, and click Create and edit. The editor opens.
Step 2: Add a subcomposition
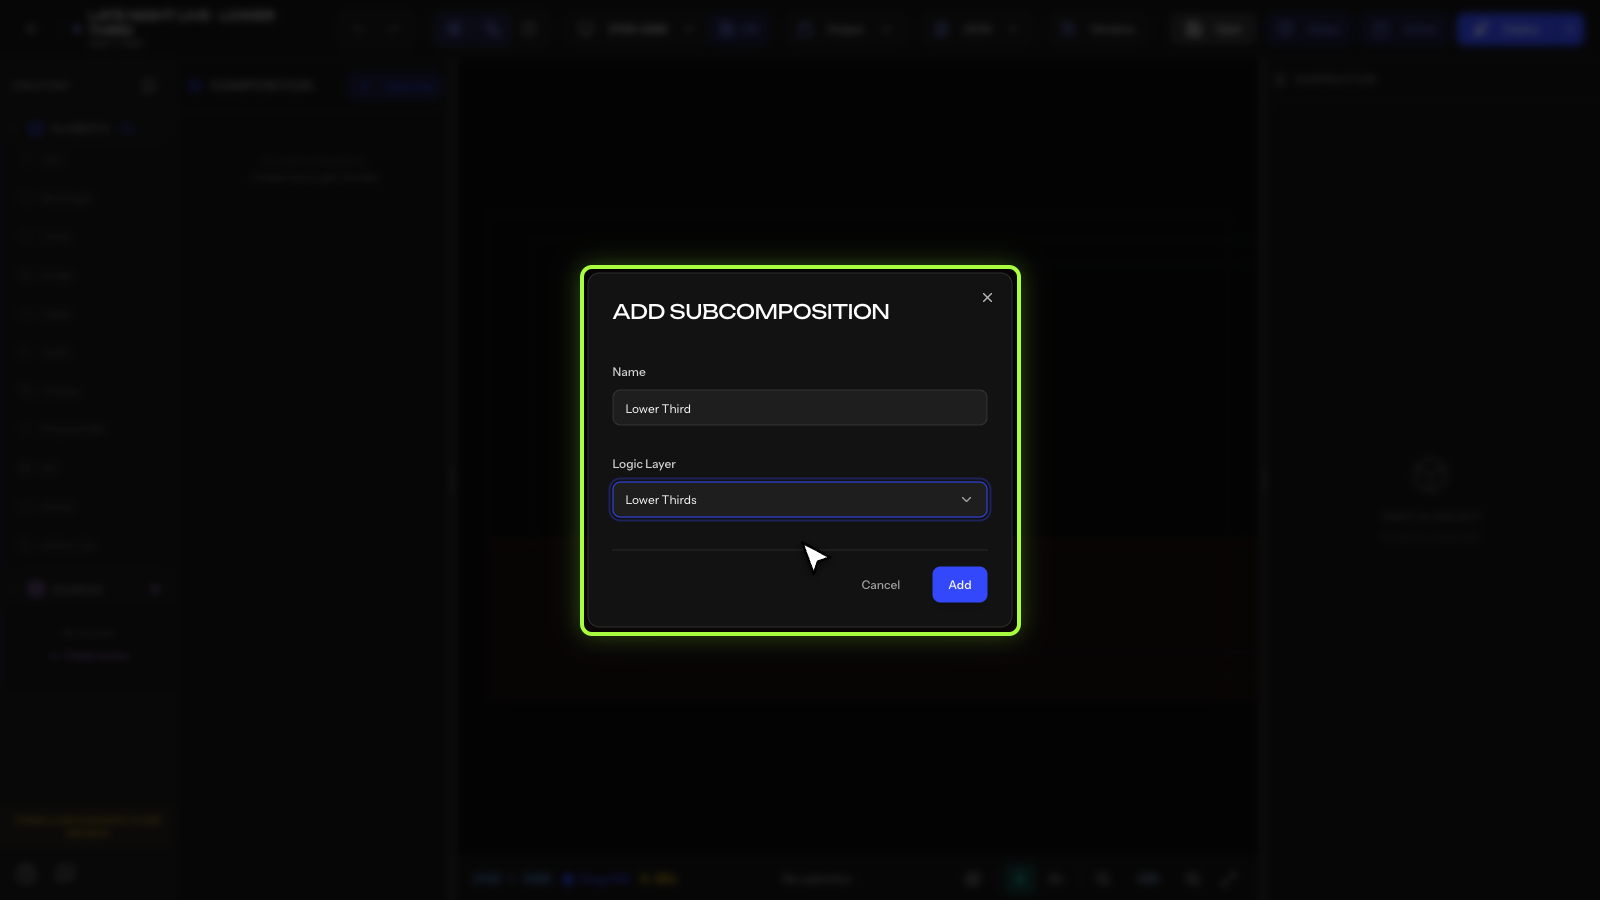
- In the Composition panel, click + Subcomp.
- Name it "Lower Third".
- Set the Logic Layer (for example Lower Third; other options: Bugs, Full Screen, Tickers, Score Bugs, Custom) and click Add.
Step 3: Add elements
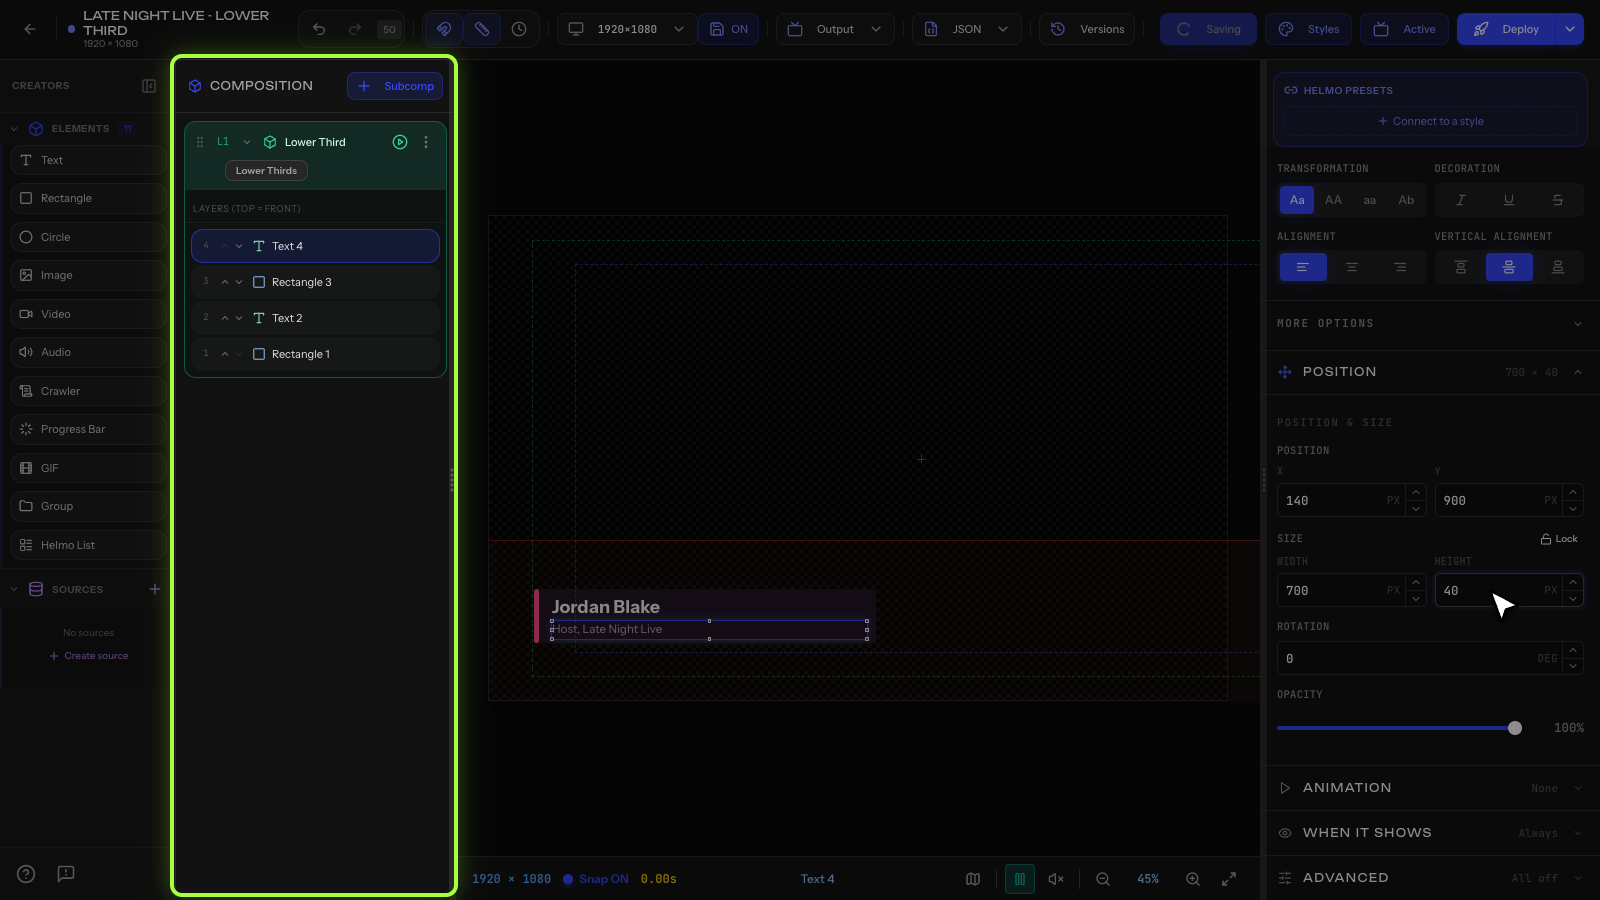
- From the Elements panel (left side, under Creators), drag a Rectangle onto the canvas.
- Position it at the bottom of the screen (this is your background bar).
- In the Inspector (right side), set the fill color.
- Drag a Text element and place it on top of the rectangle.
- Type a name, for example "John Smith".
- Adjust font, size, and color in the Inspector.
Step 4: Add an animation
- Select the subcomposition in the tree.
- In the Property Panel, go to the Animation section.
- Choose an IN preset (for example, "slideInLeft").
- Choose an OUT preset (for example, "slideOutLeft").
- Set the duration (for example, 500ms).
Step 5: Deploy
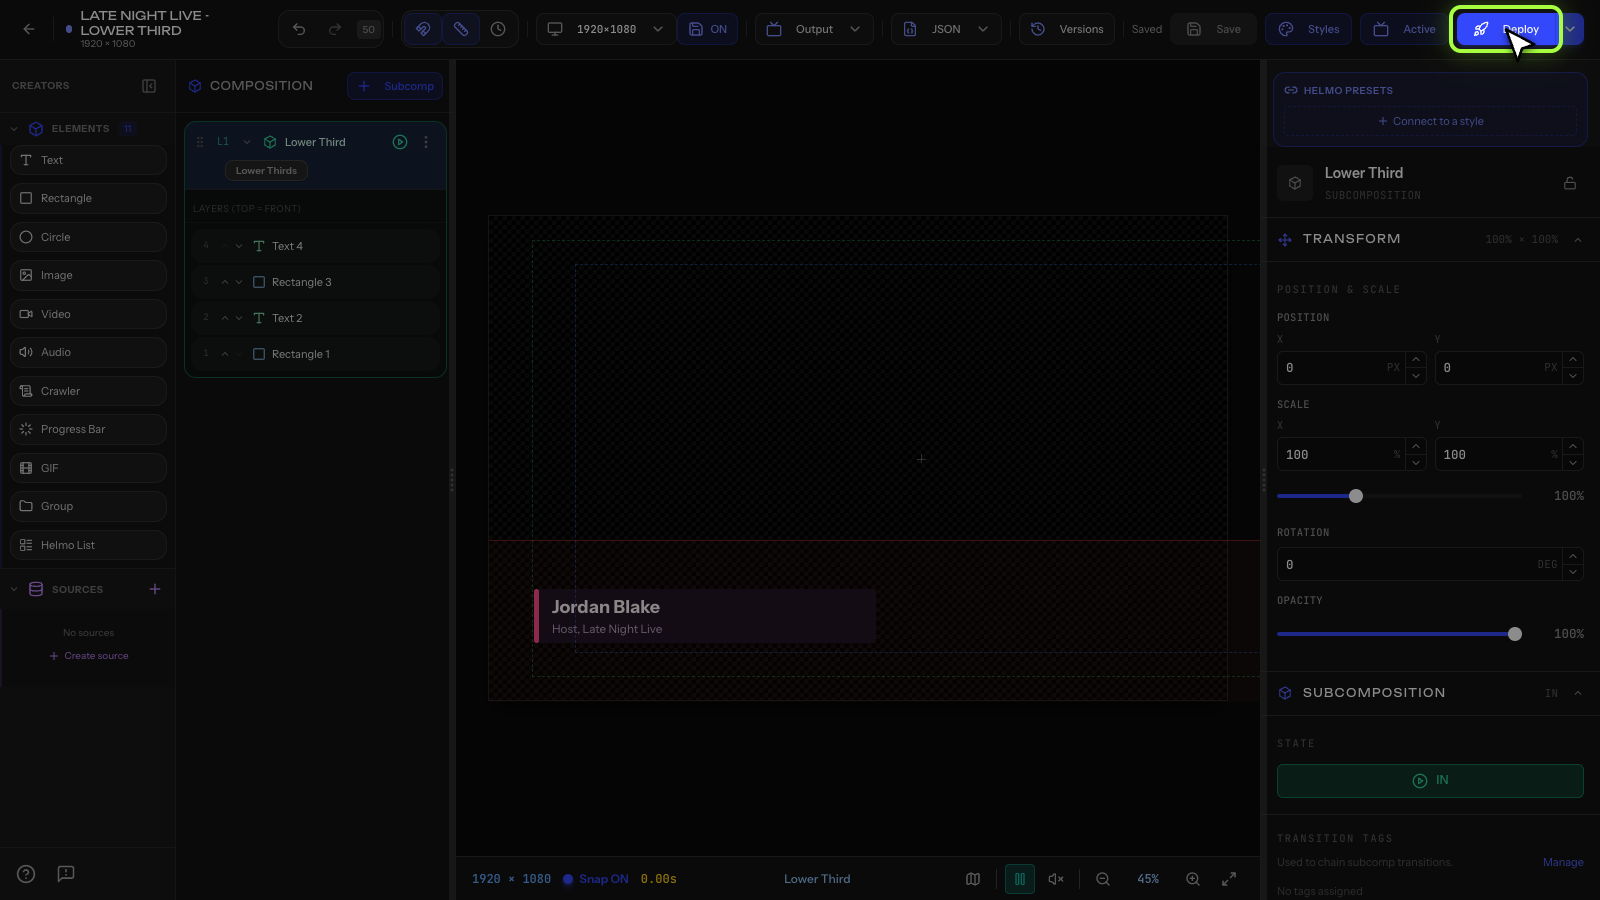
- Click the Deploy button in the toolbar to push your graphic to the live output.
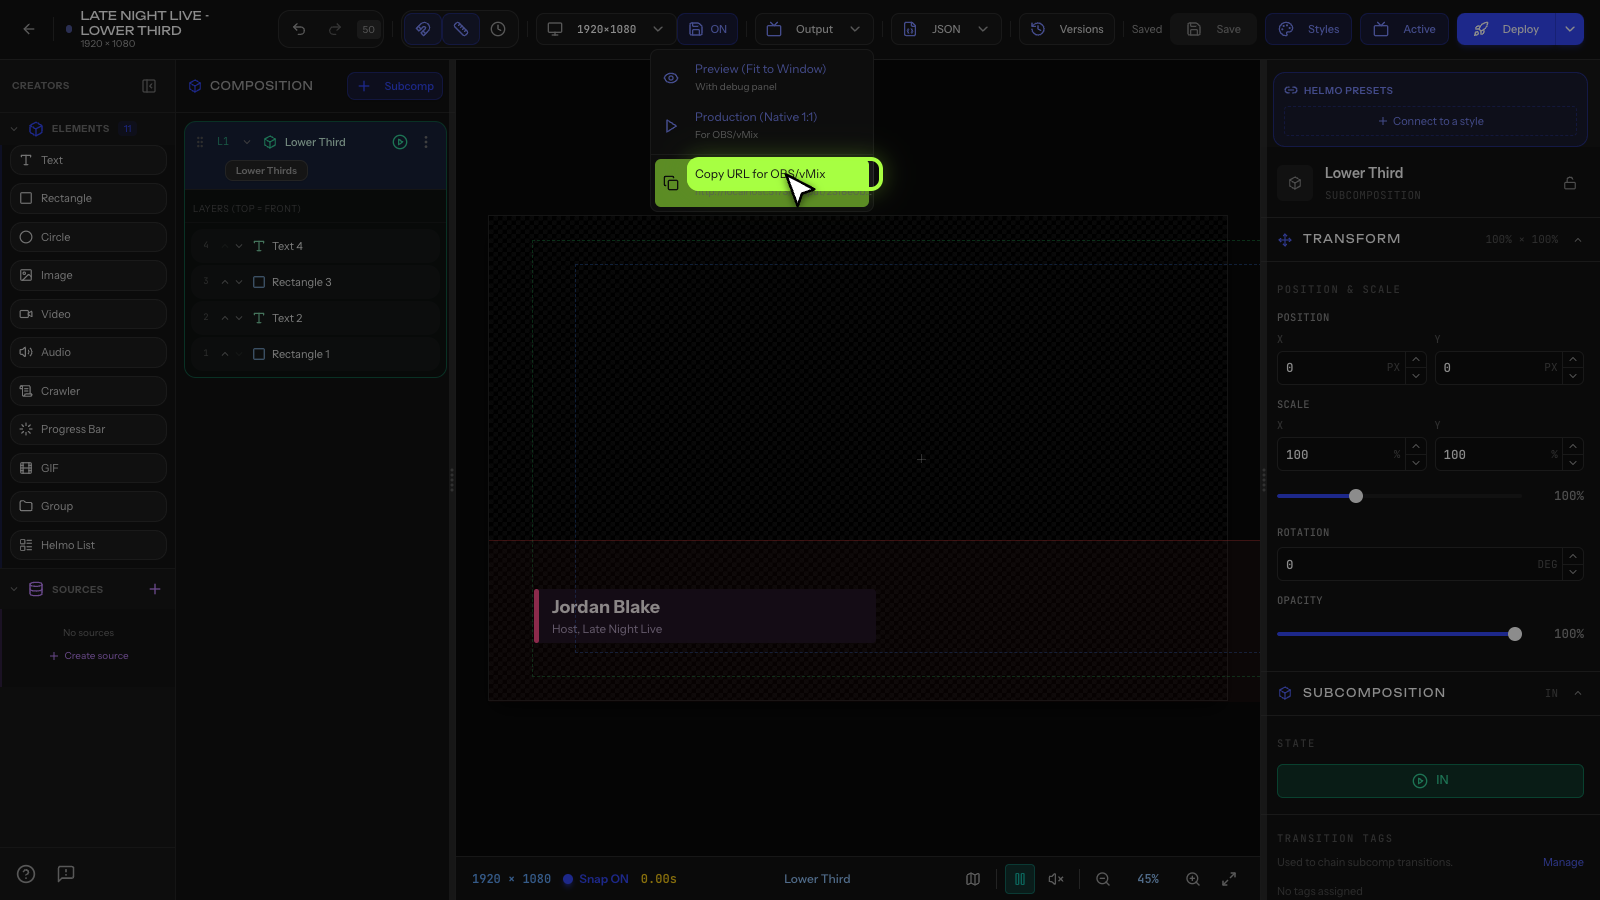
- Open the Output menu and choose Copiar URL para OBS/vMix to copy the Output URL.
- In OBS, add a Browser Source and paste the URL.
- Set the resolution to 1920×1080.
Step 6: Test it
Go to Helmo Control, find your graphic, and press the IN button. Your lower third should animate in on the OBS output.
Congratulations, you've created your first broadcast graphic!