Helmo Presets (Styles): reusable styles across elements
Define a style once and connect it to element properties so a whole package updates when the preset changes.
TutorialIntermediateUpdated
Helmo Presets, shown as Styles in the editor, let you define a style once (colors, text, logos, fonts) and connect it to element properties. When a preset's value changes, every connected property updates automatically. This keeps a whole package on-brand and lets you re-skin graphics in seconds.
Opening the Styles panel
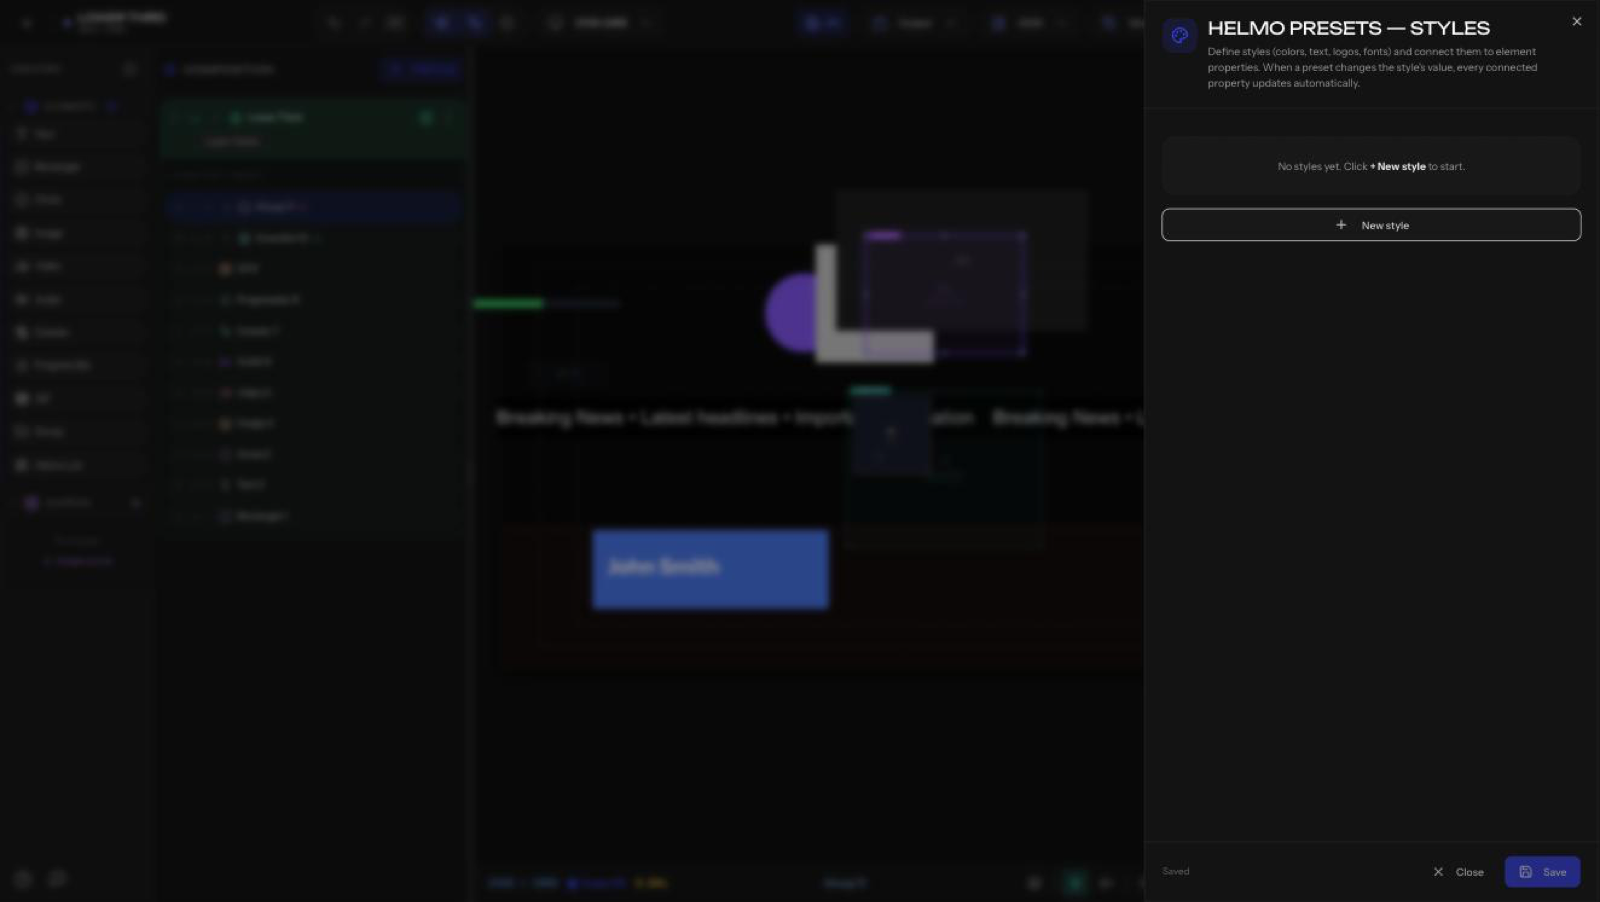
Click Styles in the top toolbar. The panel slides in from the right.
Creating a style
- Open Styles > + New style.
- Give it a name and set its value (for example a brand color, a font, or a logo image).
- Save.
Connecting an element to a style
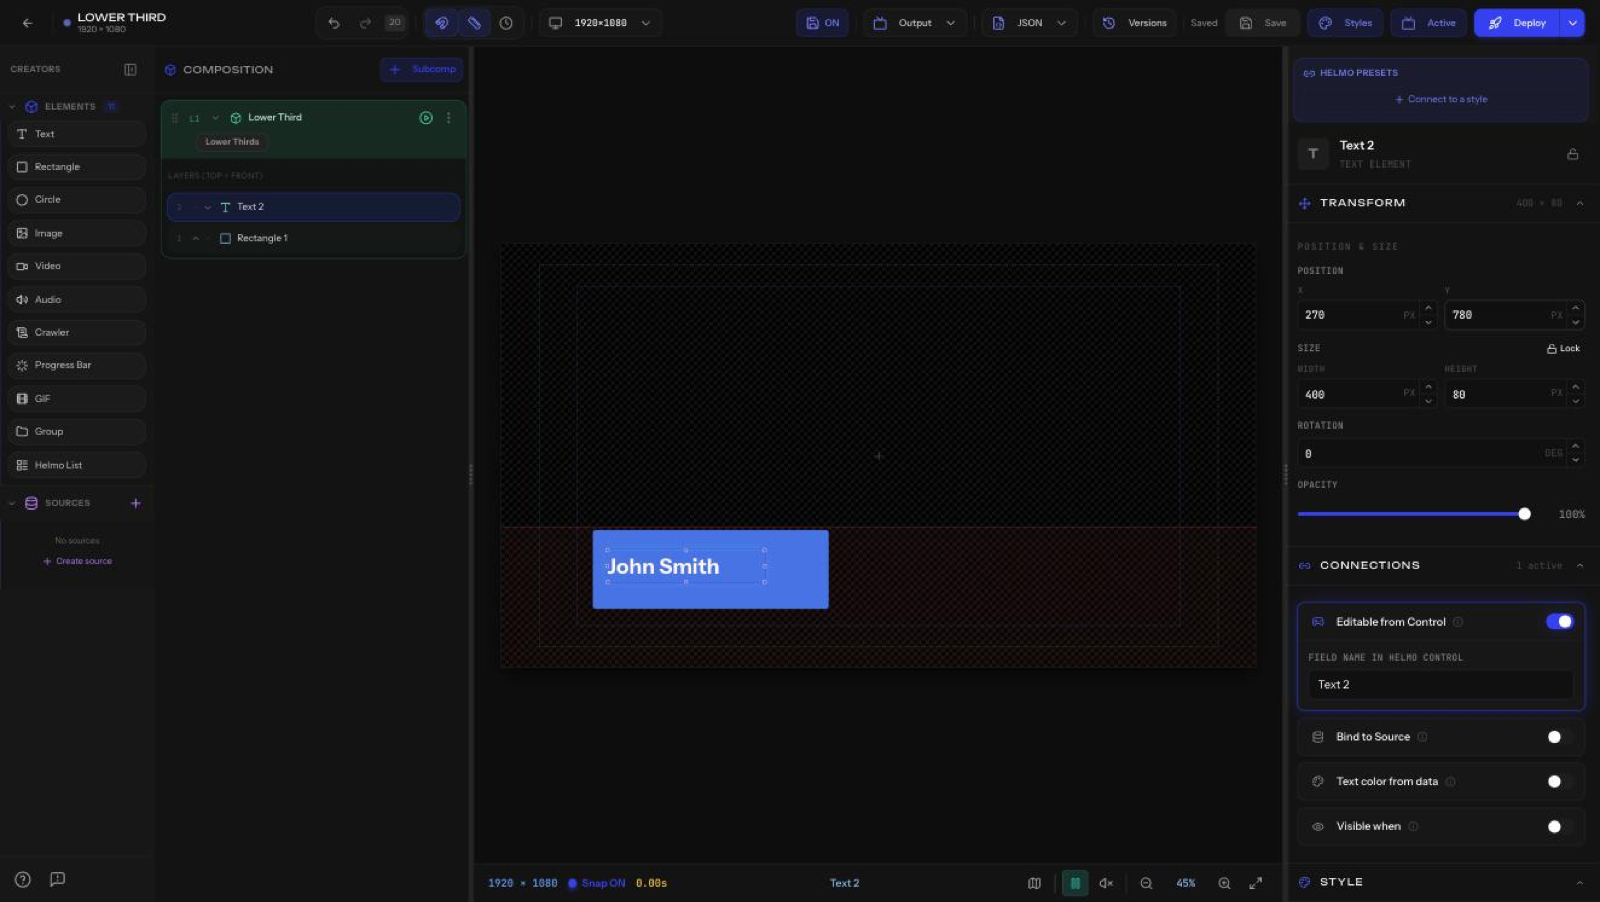
At the top of every element's Inspector there's a Helmo Presets bar with Connect to a style.
- Select the element.
- In the Inspector, click Connect to a style (top of the panel).
- Pick the style. The element's matching property now follows the preset.
Tip
Why it matters: change the brand color in one preset and every connected lower third, ticker, and scoreboard updates at once. There's no need to edit each element.